Getting Started With OpenCart Installation
OpenCart is one of our favrite ecommerce platforms to work with when it comes to starting an online store. It comes with tons of features and best of all its open source so anyone can download it and start using it under the GNU GPL License.
In this article we will provide you with detailed instructions on how to install OpenCart on your own web server. Follow these steps if you want to install a new, manual installation of the latest OpenCart version.
Manual OpenCart Installation Steps
Step 1 – Download OpenCart (latest version)
Step 2 – Unzip and Upload the OpenCart Files to Your Server (make sure you upload whats inside the “upload folder”)
Step 3 – Create a MySQL Database for OpenCart to use (e.g oc_shop)
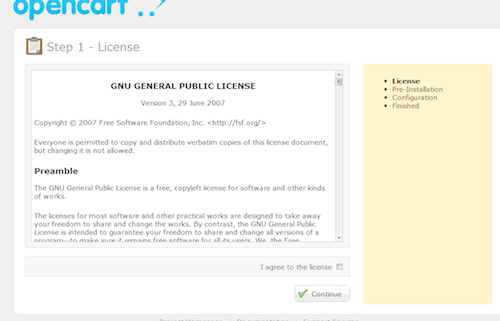
Step 4 – Go through the installation process (3 steps total)
Step 5 – That’s it you’re done!
After the installation is complete you can access your Dashboard by going to http://www.yourshop.com/admin and enter your login credentials you created on step 3.
If you are looking for professional OpenCart support or installation feel free to contact us and we can help you will that.


